Installing LLVM from Source on Ubuntu 16.04
Table Of Contents
- Download Source Code
- Configure LLVM and Clang
- Using Ninja to build LLVM and Clang
- Install LLVM
- Updating Source
This is a quick guide on building LLVM and Clang from source and installing them on a machine running Ubuntu 16.04 using Ninja build system.
Download Source Code
The first step is to download the source from llvm’s repository. To do so,
- Checkout LLVM:
$cd where-you-want-llvm-to-live
$svn co http://llvm.org/svn/llvm-project/llvm/trunk llvm
- Checkout Clang:
$cd llvm/tools
$svn co http://llvm.org/svn/llvm-project/cfe/trunk clang
- Checkout Compiler-RT (required to build the sanitizers) [Optional]:
$cd ../projects
$svn co http://llvm.org/svn/llvm-project/compiler-rt/trunk compiler-rt
- Checkout Libomp (required for OpenMP support) [Optional]:
$svn co http://llvm.org/svn/llvm-project/openmp/trunk openmp
- Checkout libcxx and libcxxabi [Optional]:
$svn co http://llvm.org/svn/llvm-project/libcxx/trunk libcxx
$svn co http://llvm.org/svn/llvm-project/libcxxabi/trunk libcxxabi
- Get the Test Suite Source Code [Optional]
$svn co http://llvm.org/svn/llvm-project/test-suite/trunk test-suite
Configure LLVM and Clang
It must be noted that the LLVM project no longer supports building with configure & make. We have to use CMake-based build system.
It is recommended to create a new build directory somewhere outside the source directory. To do this,
$cd ../..
$mkdir build
$cd build
In the build directory, run the following command:
$cmake -G "Ninja" -DCMAKE_INSTALL_PREFIX=/install/path -DLLVM_TARGETS_TO_BUILD=AArch64 /pathto/llvm/
The general syntax of cmake is cmake -G <generator> [options] <path to llvm sources>.
I prefer to use Ninja build system. Some common generators are:
Unix Makefiles— for generating make-compatible parallel makefiles.Ninja— for generating Ninja build files. Most llvm developers use Ninja.Visual Studio— for generating Visual Studio projects and solutions.Xcode— for generating Xcode projects.
Variables are passed to cmake on the command line using the format -D<variable name>=<value>. The following are the variables that I pass:
-
LLVM_TARGETS_TO_BUILD
This controls which targets is built and linked into llc.The various values that this semicolon delimited list can include are
AArch64, AMDGPU, ARM, BPF, Hexagon, Mips, MSP430, NVPTX, PowerPC, Sparc, SystemZ, X86, XCore.Here, in the example, I choose to use
AArch64as my target. You can setLLVM_TARGETS_TO_BUILD=hostinstead. The list is set to LLVM_ALL_TARGETS as default. Doing this however, increases the build time considerably. -
CMAKE_INSTALL_PREFIX
This specifies the directory where you want the LLVM tools and libraries to be installed (default /usr/local). DO NOT use relative paths for this.
Using Ninja to build LLVM and Clang
Running cmake would have generated a file called build.ninja. At this stage, to build LLVM, just invoke ninja. You might want to download Ninja binaries for your system from here.
$ninja
Depending upon the configuration, this step might take considerable amount of time and system resource.

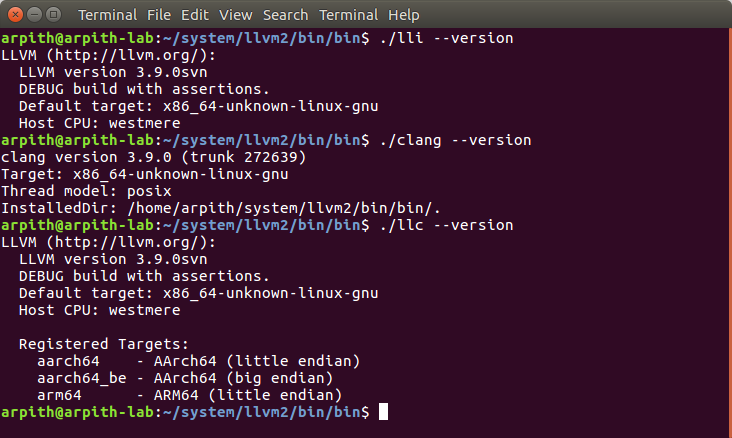
Install LLVM
To install LLVM,
$ninja install
This installs LLVM binaries and libraries in the directory specified by the CMAKE_INSTALL_PREFIX variable.
If you choose to do so, the final step would be to include the path to llvm binary files in $PATH environment variable.
Updating Source
To update all components of LLVM infrastructure,
$cd  where-llvm-lives
$svn update . ./tools/clang/ ./projects/compiler-rt/ ./projects/openmp/ ./projects/libcxx ./projects/libcxxabi/ ./projects/test-suite/
After this, build the project again using the aforementioned procedure.